As a seasoned Helldiver, I’ve spent countless hours experimenting with weapons and tactics in the latest updates, and one tool has stood out for sheer firepower and versatility: the SMG37 Defender. This weapon, now boasting a 20-point increase per shot (from 80 to 100) and 120% more durable damage, has become a cornerstone for tackling high-density enemy zones. In today’s guide, I want to break down how to maximize the Defender’s potential, manage tricky bug breaches, and make your missions more efficient.
Why the Defender Is a Game-Changer
If you’re used to relying on weapons like the adjudicator, tenderizer, or MA5C assault rifle, the Defender offers a refreshing alternative. Its high rate of fire combined with strong damage output makes it incredibly reliable against most enemy types. The only real limitation is its light penetration, which can be a minor issue against Automatons. Personally, I prefer using alternatives like the Reprimand for those encounters, but for everything else, the Defender shines.
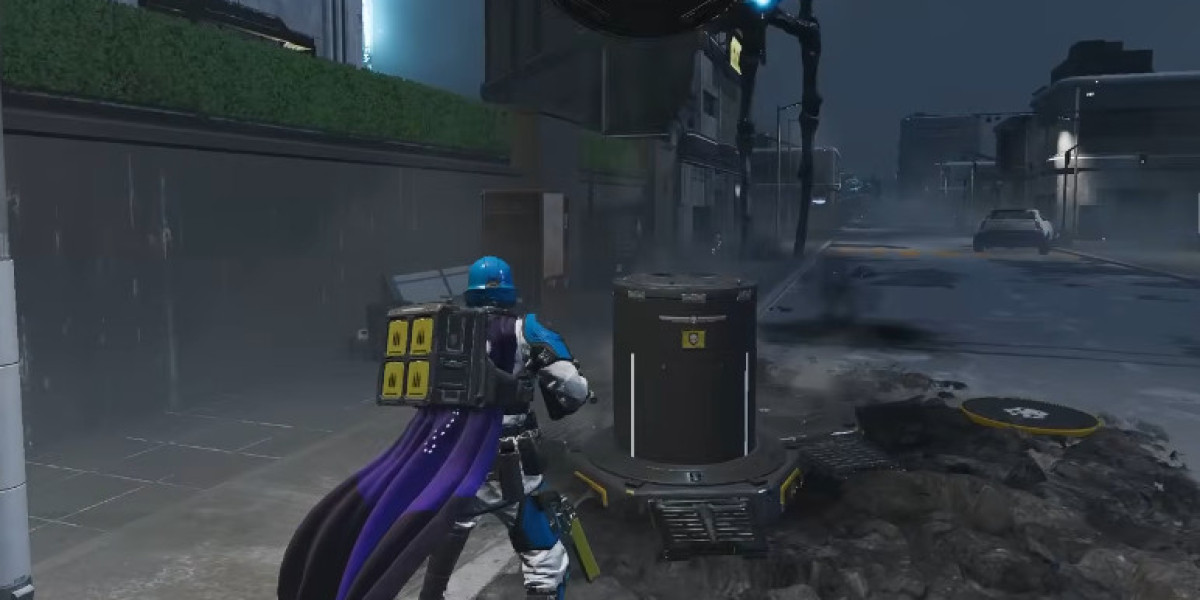
A key point to highlight is how this weapon deals with mid- and high-tier bug threats. During my recent mission run, I faced swarms of Beetle Buglers, Rattlers, and Shriers. Using a combination of grenades, the Gatling Barrage, and the Defender itself, I could systematically clear nests while keeping mobility. One-hand operation allows shooting on the move, which is a huge advantage in fast-paced fights where stopping to reload or reposition could be deadly.
Tactical Tips for Handling Bug Breaches
One thing I’ve learned is that proper use of explosives like the 500s can drastically reduce the amount of micro-management during a breach. For instance, throwing a 500 at a large bug nest can instantly close multiple holes, saving both ammo and time. Combining this with resupplies strategically placed around the map ensures you can maintain sustained fire, particularly when the mission generates unexpected swarms of Alpha Commanders or Impalers. My tip: never underestimate resupply placement—it can make the difference between smooth clearing and a chaotic wipeout.
Additionally, pairing the Defender with secondary weapons like the Quazar for quick crowd control lets you focus on more dangerous targets, like Bile Titans or Stalker Layers, without wasting precious ammo. In my recent playthrough, this combination allowed me to handle multiple heavy nests and mega nests effectively, even under heavy enemy pressure.
Efficient Mission Flow
While high-damage weapons are critical, strategy matters just as much. I find it helpful to prioritize objectives in the following order:
Close immediate bug breaches – These are your primary threat zones.
Eliminate high-priority enemies – Alpha Commanders and Bile Titans first.
Systematically clear nests – Use grenades and 500s to reduce spawn points.
Use guard dogs or support units – Let them handle low-priority mobs.
Following this flow, you maintain high efficiency and reduce unnecessary exposure. For lighter players, running light armor helps maintain mobility, letting you maneuver through nests and breaches without getting bogged down.
Getting Resources Without Frustration
One thing every Helldiver needs is access to reliable resources. For players looking to buy Helldivers 2 medals quickly to unlock new gear or rank up faster, options like U4GM offer a convenient solution. Naturally, I always recommend being mindful of in-game economy and safety when purchasing digital items, but having a steady supply of medals can make trying out high-cost weapons like the Defender far less stressful.
On a slightly different note, if you’re hunting specific gear or consumables, helldivers 2 items for sale can be a handy resource. This approach allows players to experiment with builds without grinding endlessly, giving you the freedom to refine strategies around the weapons you enjoy most.
Key Observations and Personal Insights
Defender Performance: Its durability damage buff makes it a top-tier choice for almost all missions outside Automaton-heavy zones.
Grenade Synergy: Using grenades in tandem with the Defender allows for effective area control, particularly for bug nests and shrier swarms.
Mobility Matters: Light armor and one-handed shooting ensure you stay agile, avoiding getting pinned by sudden bug spawns.
Resource Management: Resupplies and ammo conservation are crucial during extended missions, especially when handling multiple heavy nests.
Personally, I’ve found that a well-equipped Defender user feels almost unstoppable in controlled scenarios. The satisfaction of clearing a mega nest without constant resupply trips is unmatched, and it’s why I consider this loadout essential for serious Helldivers 2 players.
The SMG37 Defender has truly earned its spot among the elite Helldivers weapons, offering raw firepower, versatility, and a satisfying playstyle. With careful planning, smart resource usage, and a little patience, even the most chaotic bug breaches can be handled efficiently. Whether you’re experimenting with light armor mobility, mixing grenades for crowd control, or strategically deploying resupplies, the Defender is a weapon that rewards both skill and tactical thinking. Pairing this with smart acquisition of resources—whether it’s through in-game medals or carefully sourced items—can elevate your missions to a whole new level.